Bonding Primers: The missing link
Understanding bonding can ensure the longevity of a hybrid treatment.
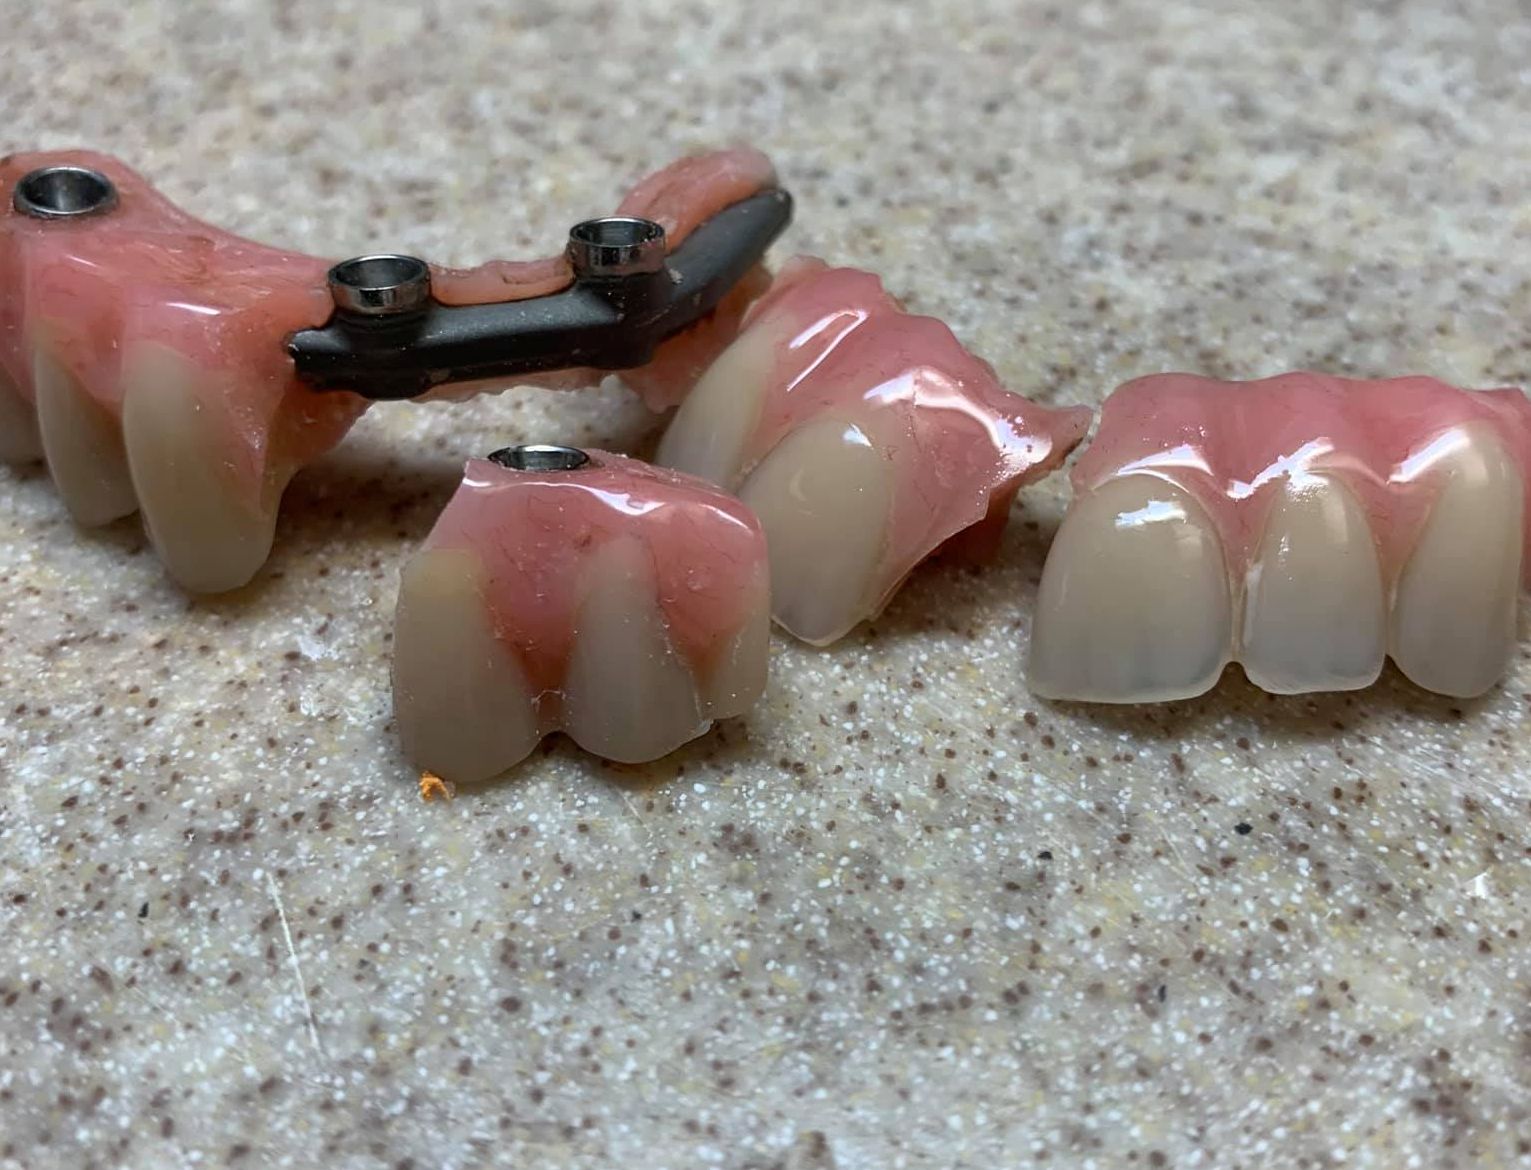
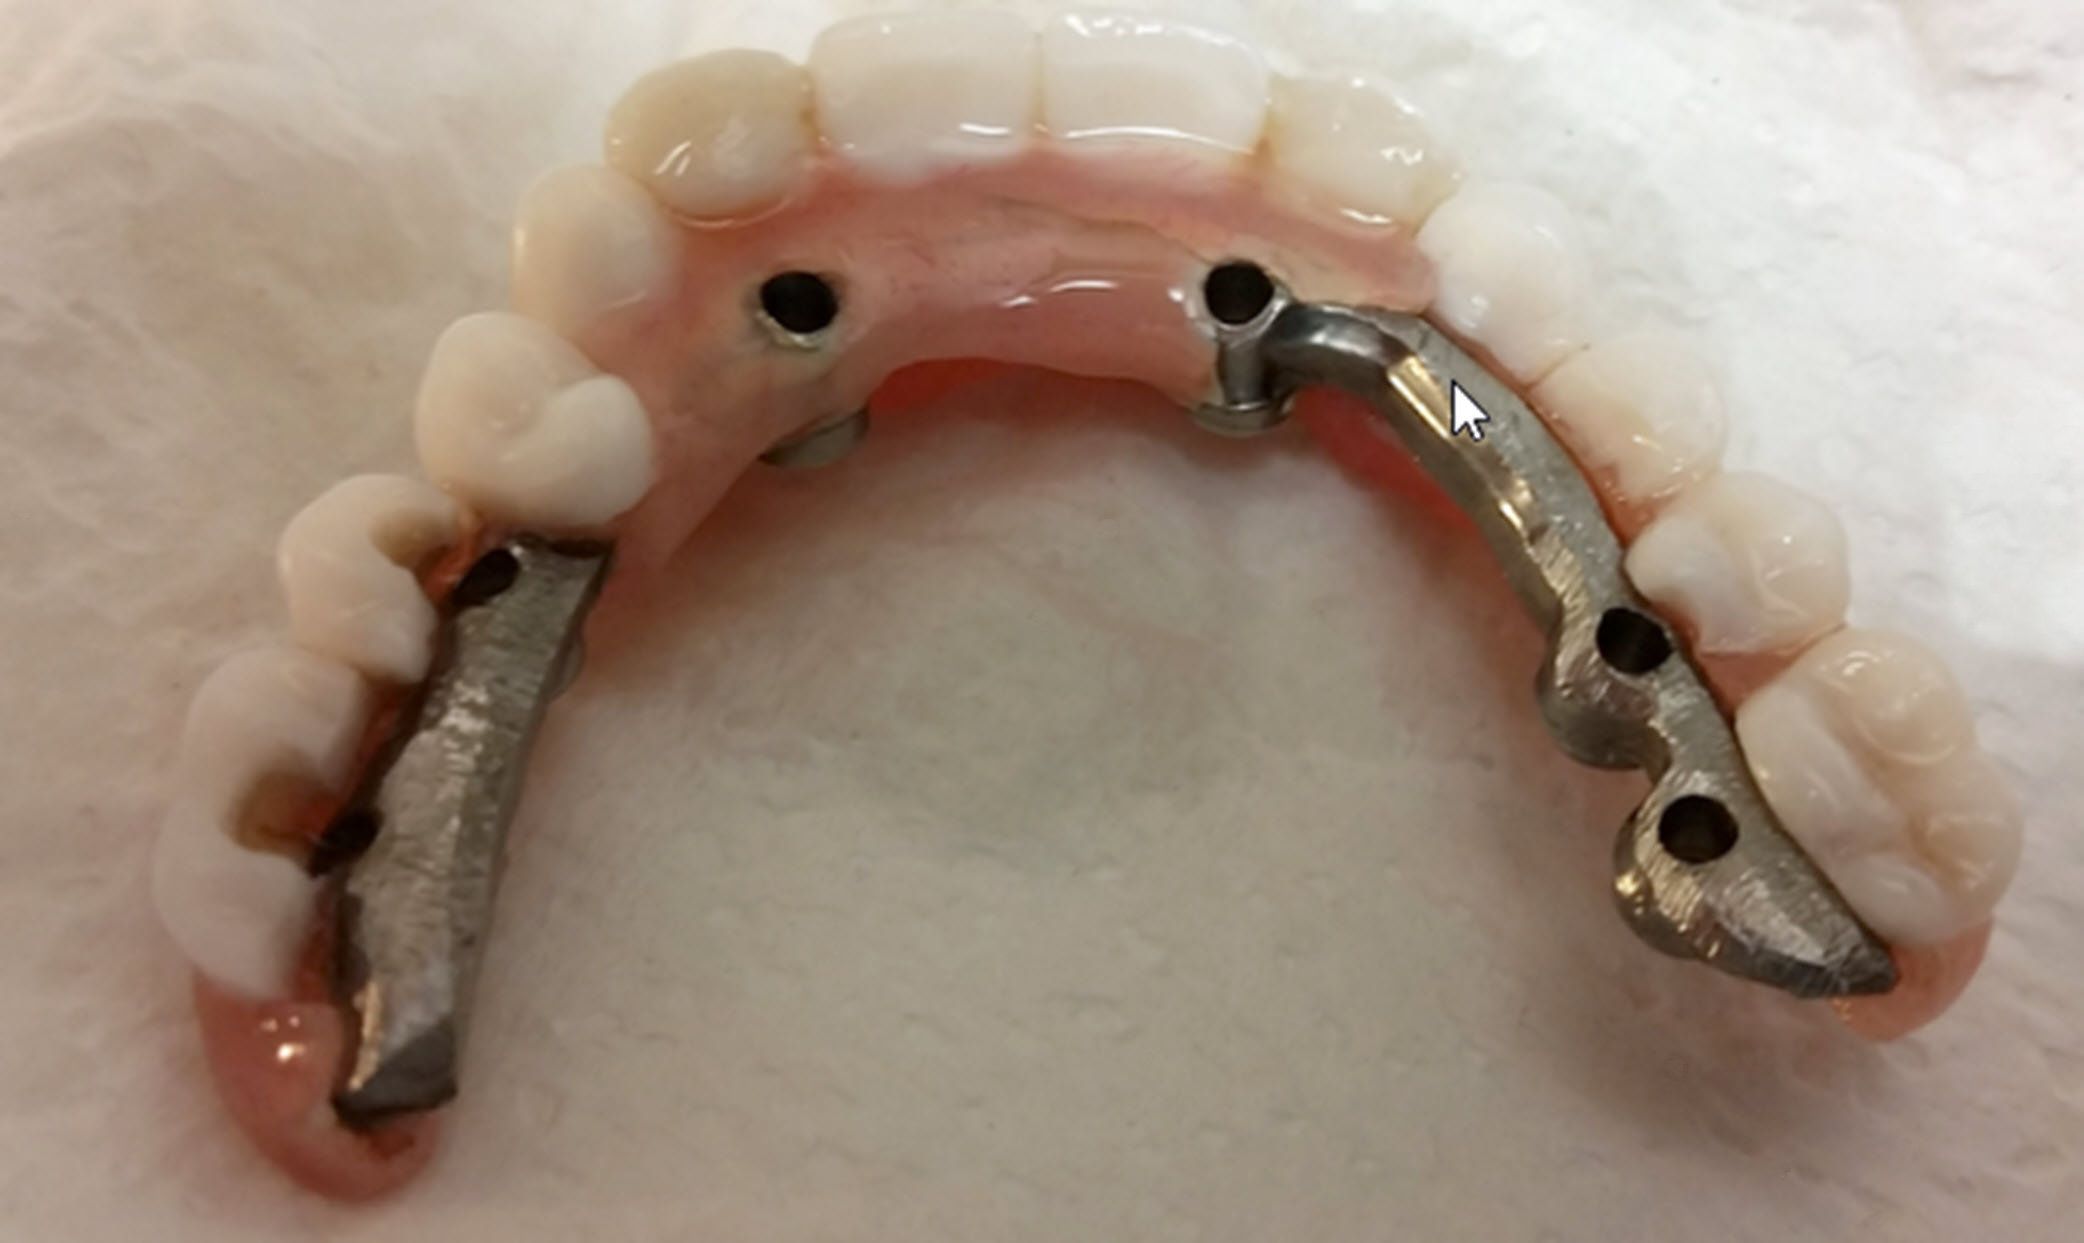
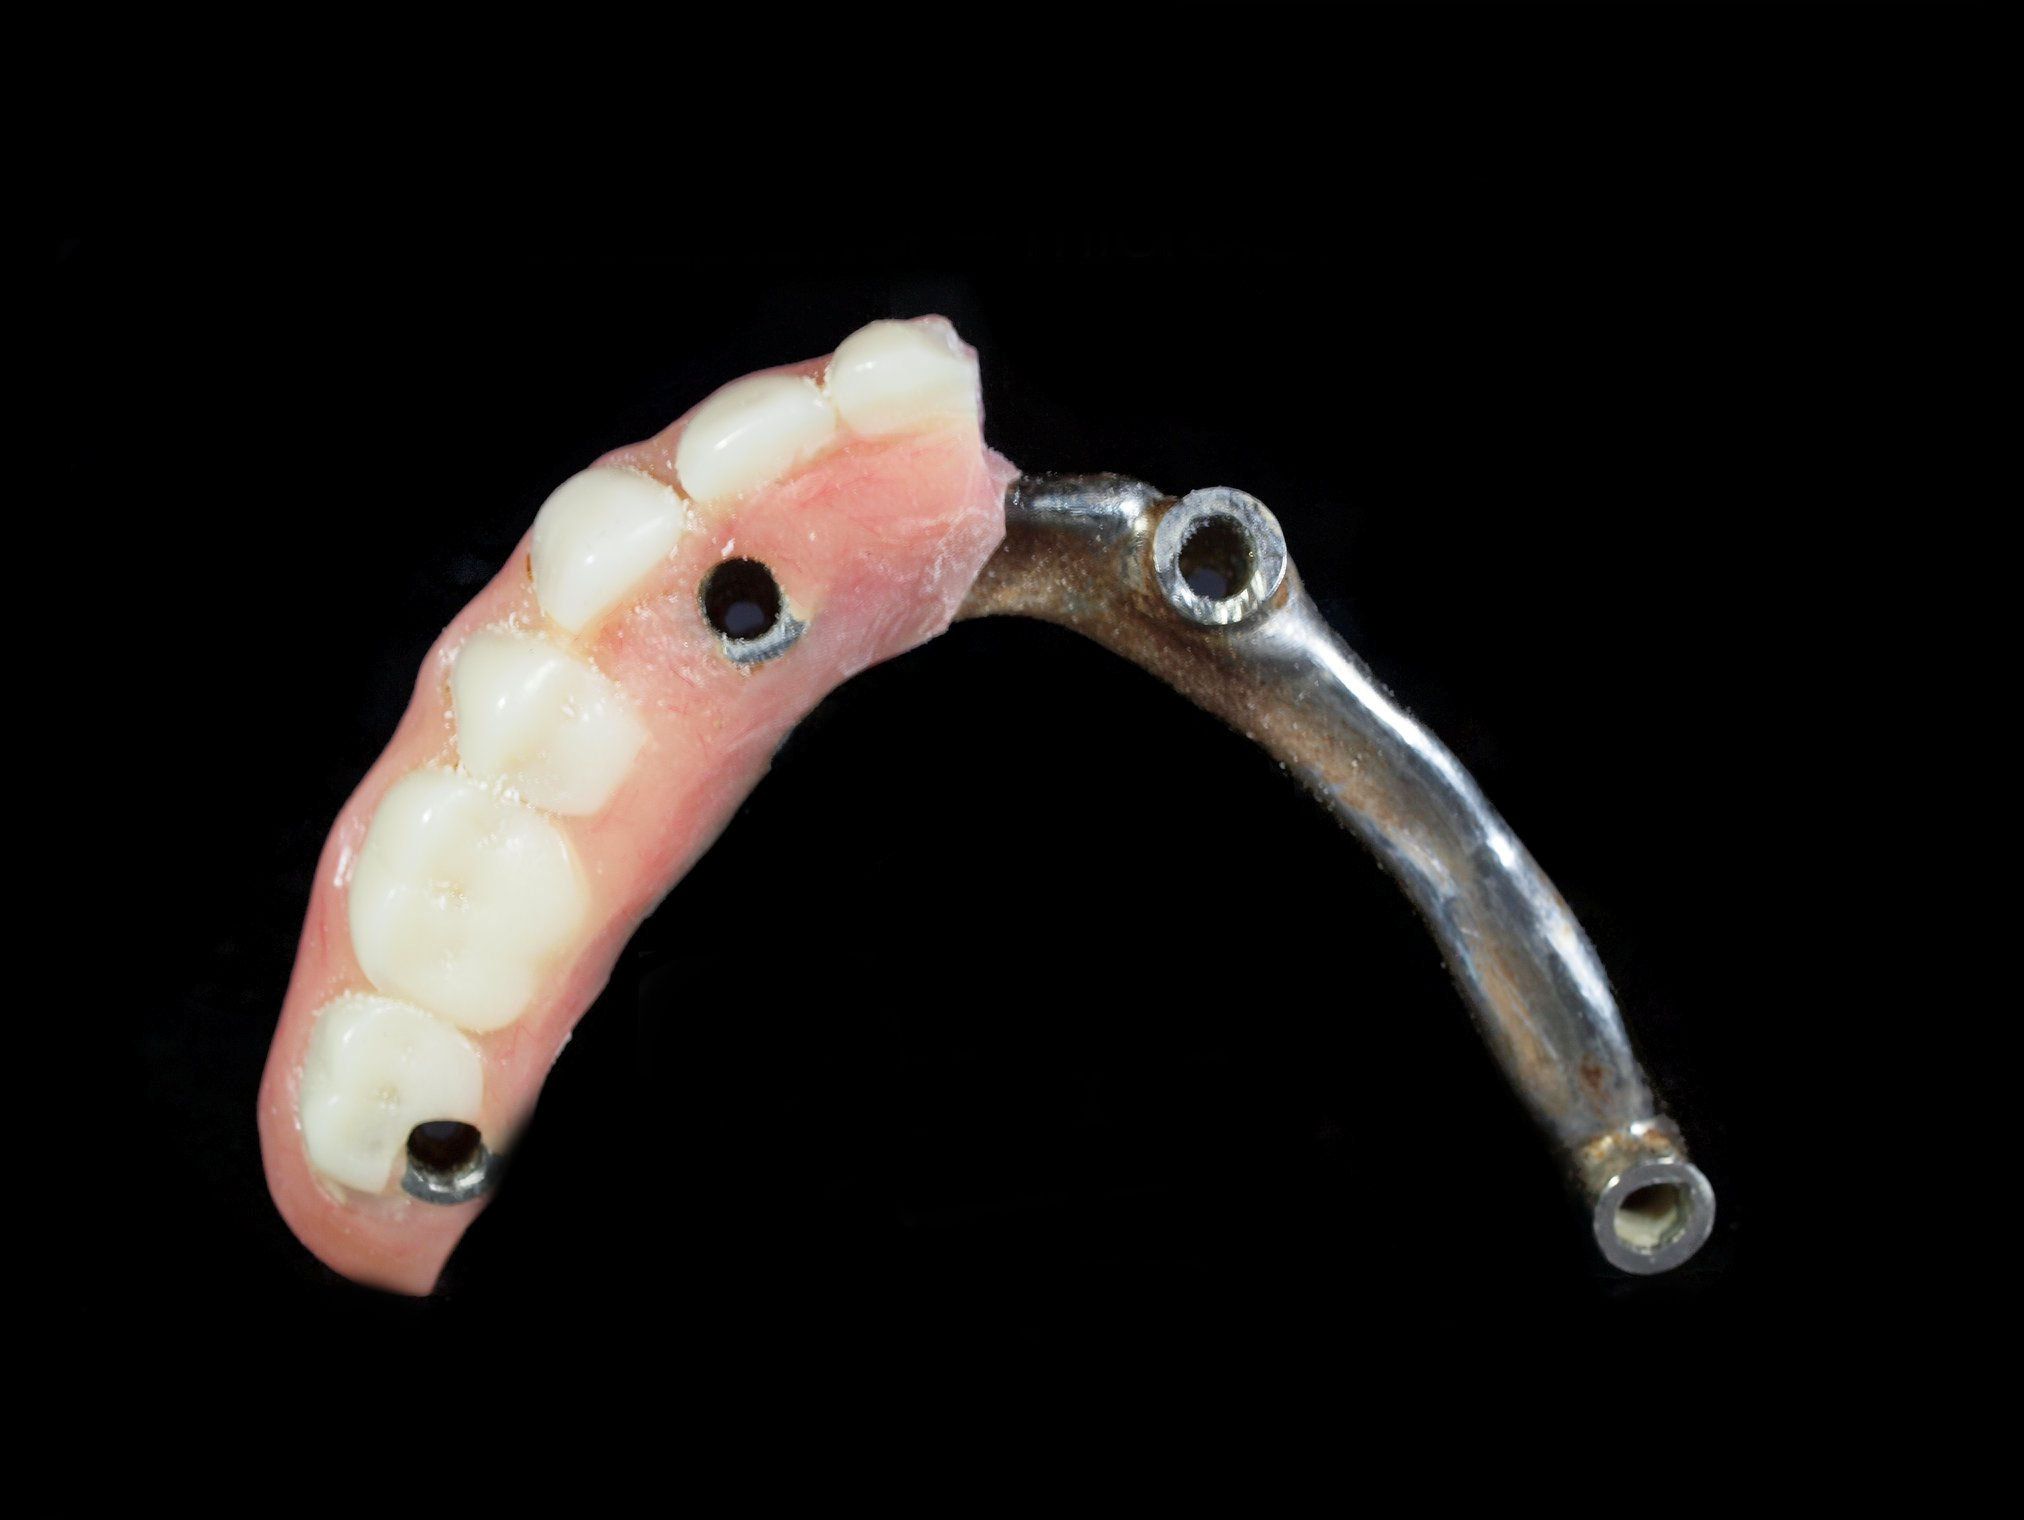
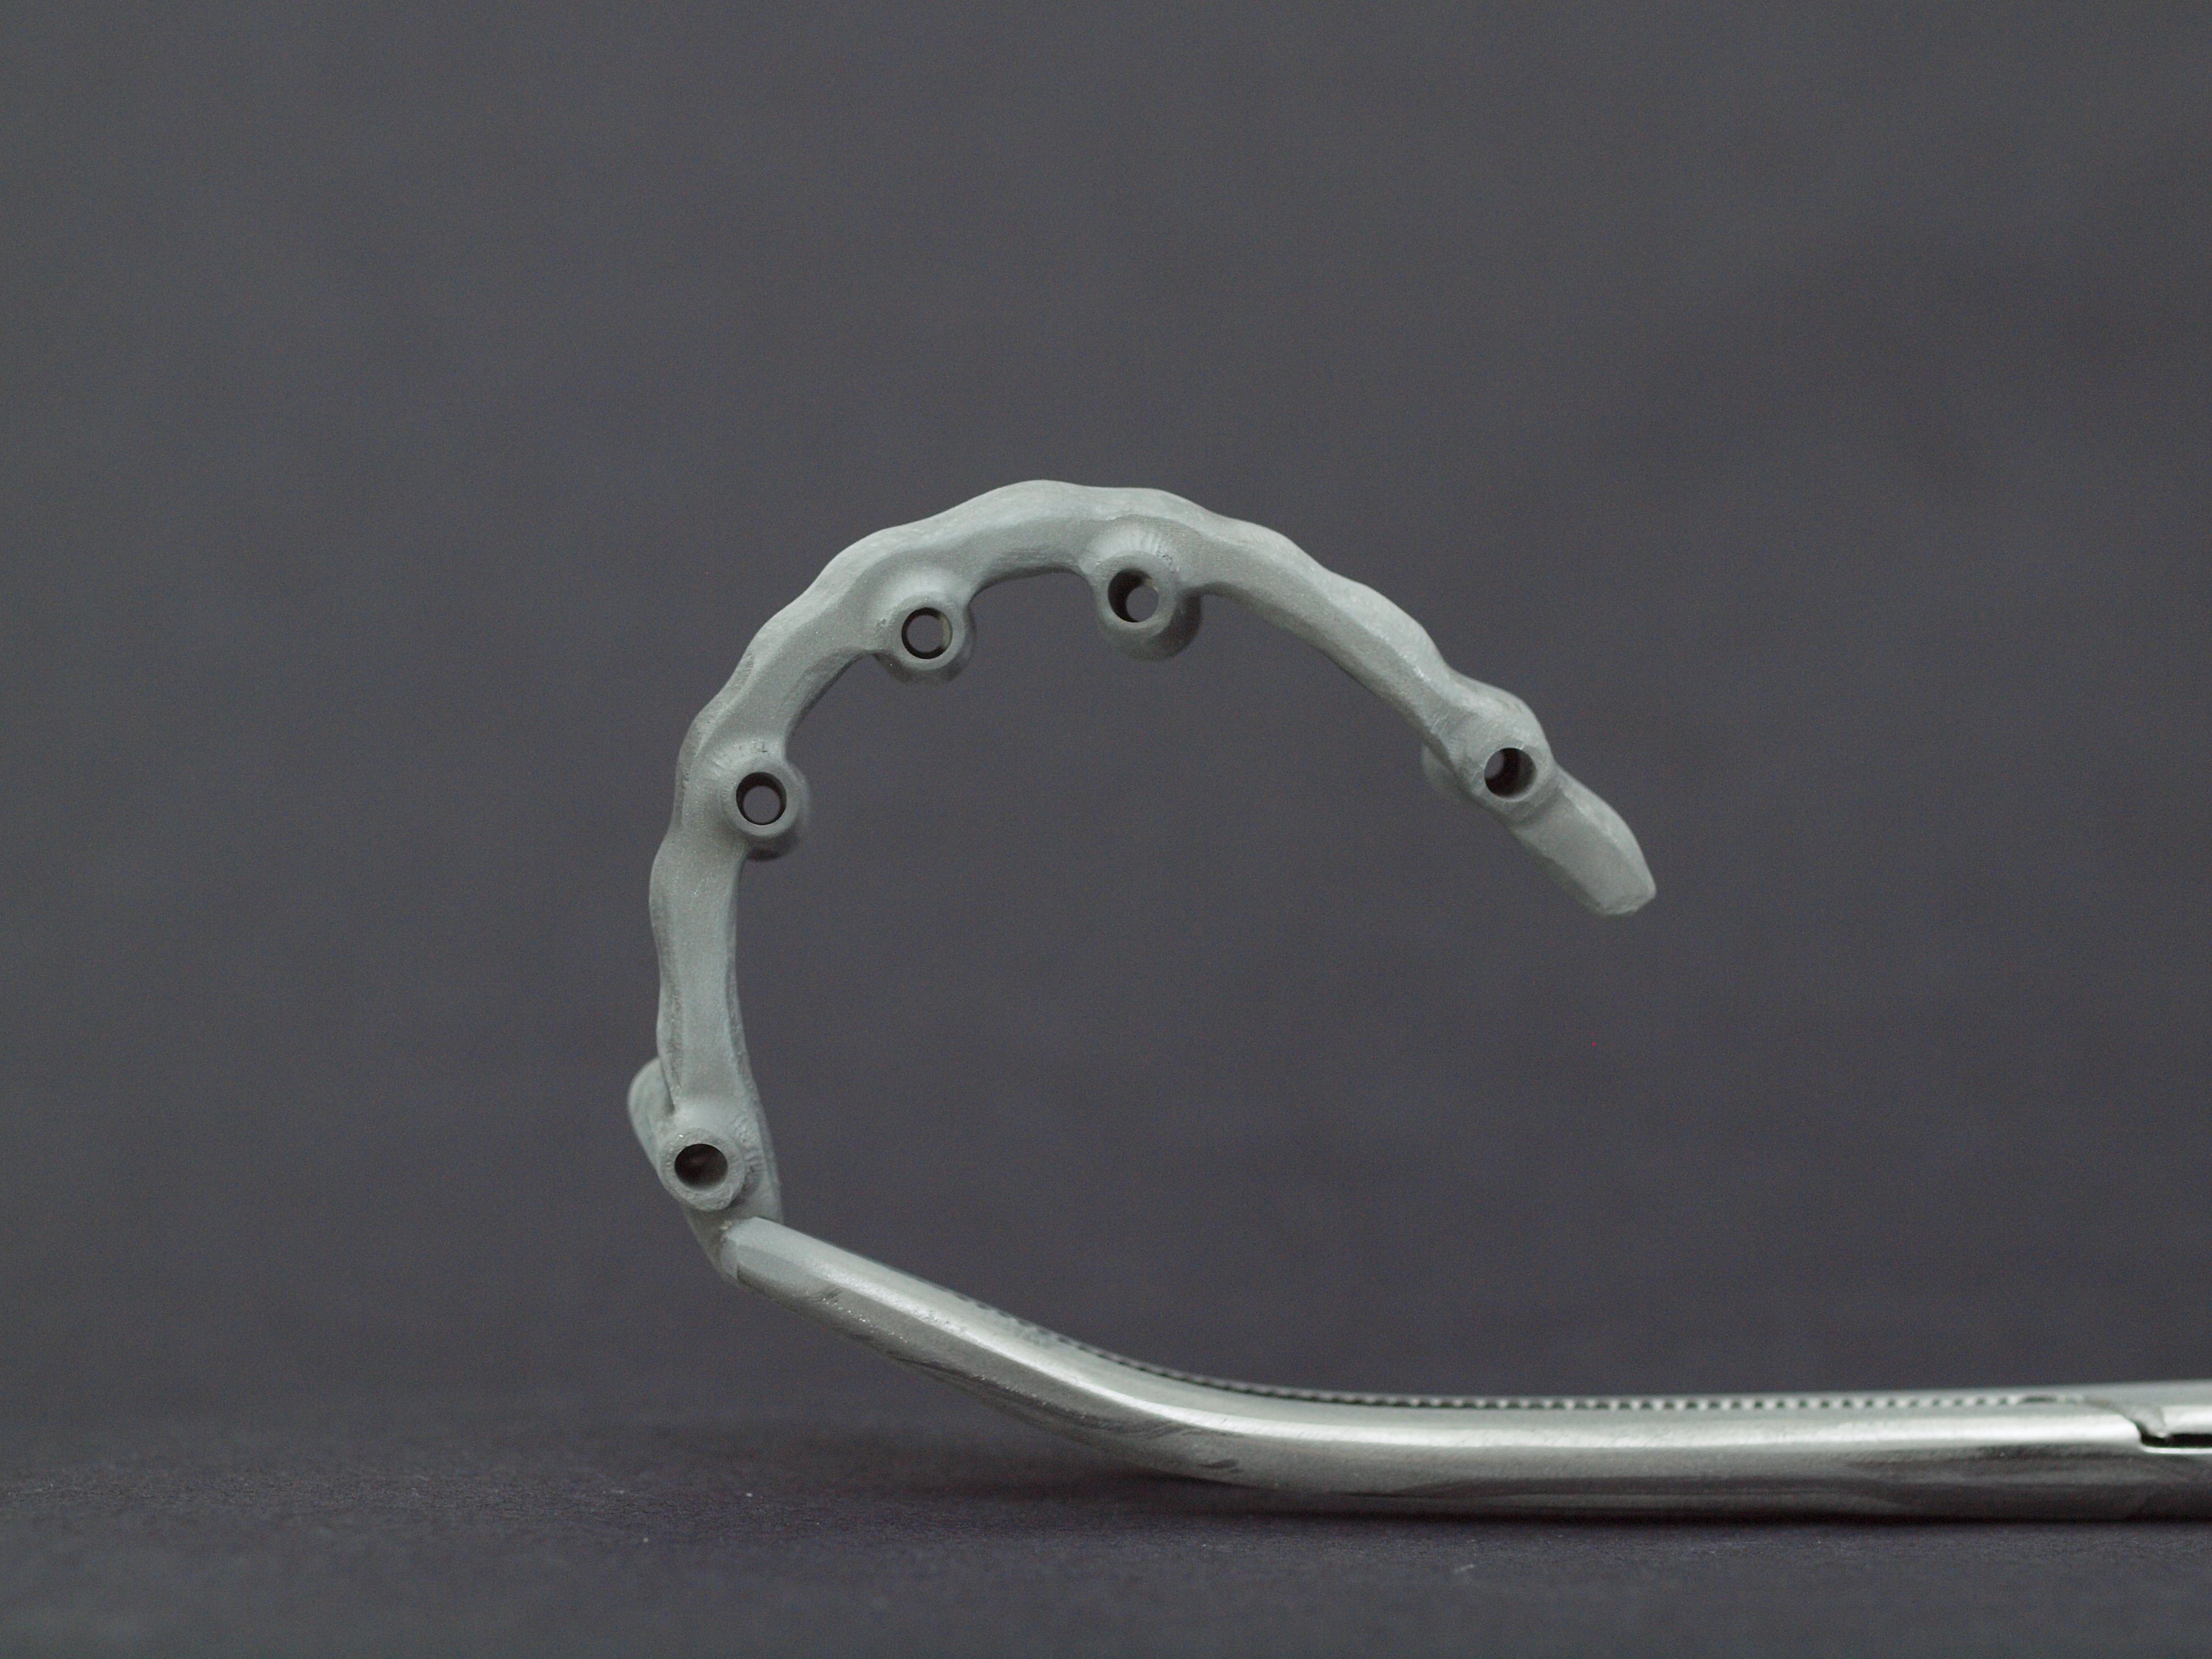
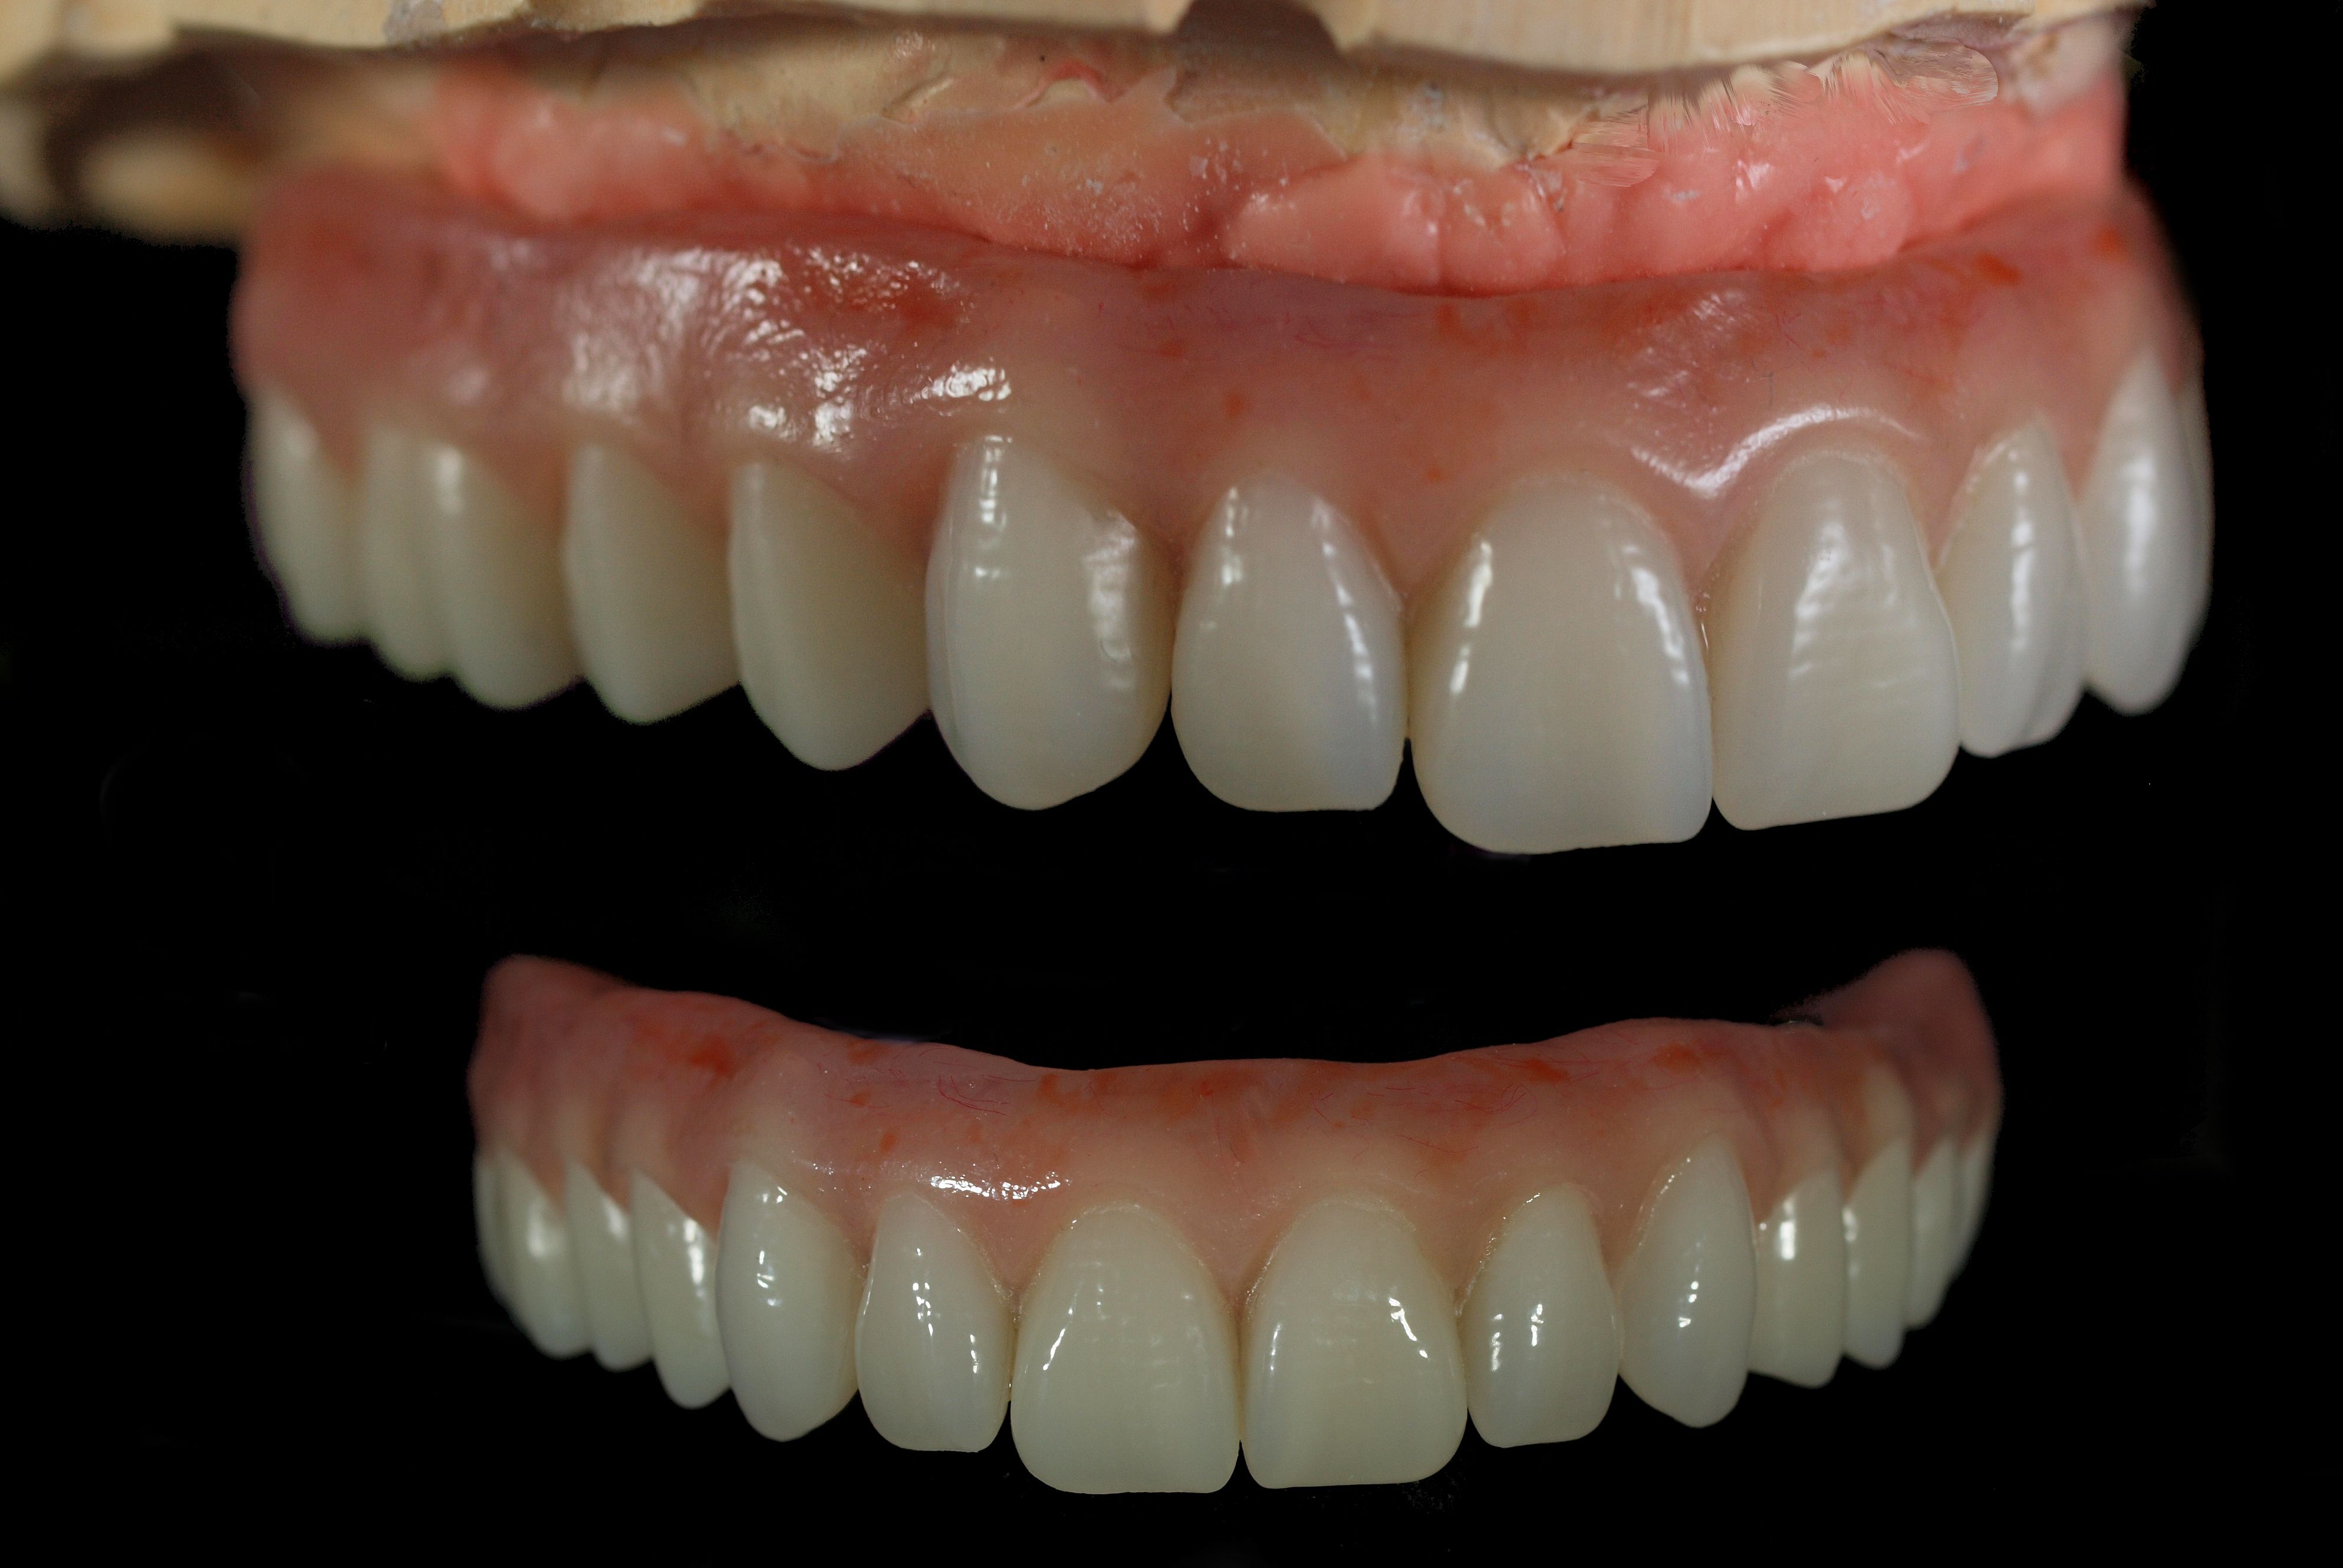
Of paramount importance in the design and fabrication of hybrid implant retained bars is service longevity. After nearly 20 years of requests to service these types of dental prosthetics, it is now obvious that after poor design, poor surface-to-surface bonding is a big reason for in-service failure. An understanding of products that promote bonding and recommended procedures can assure the promised life expectancy of hybrid treatment (Figures 1, 1a, 1b).
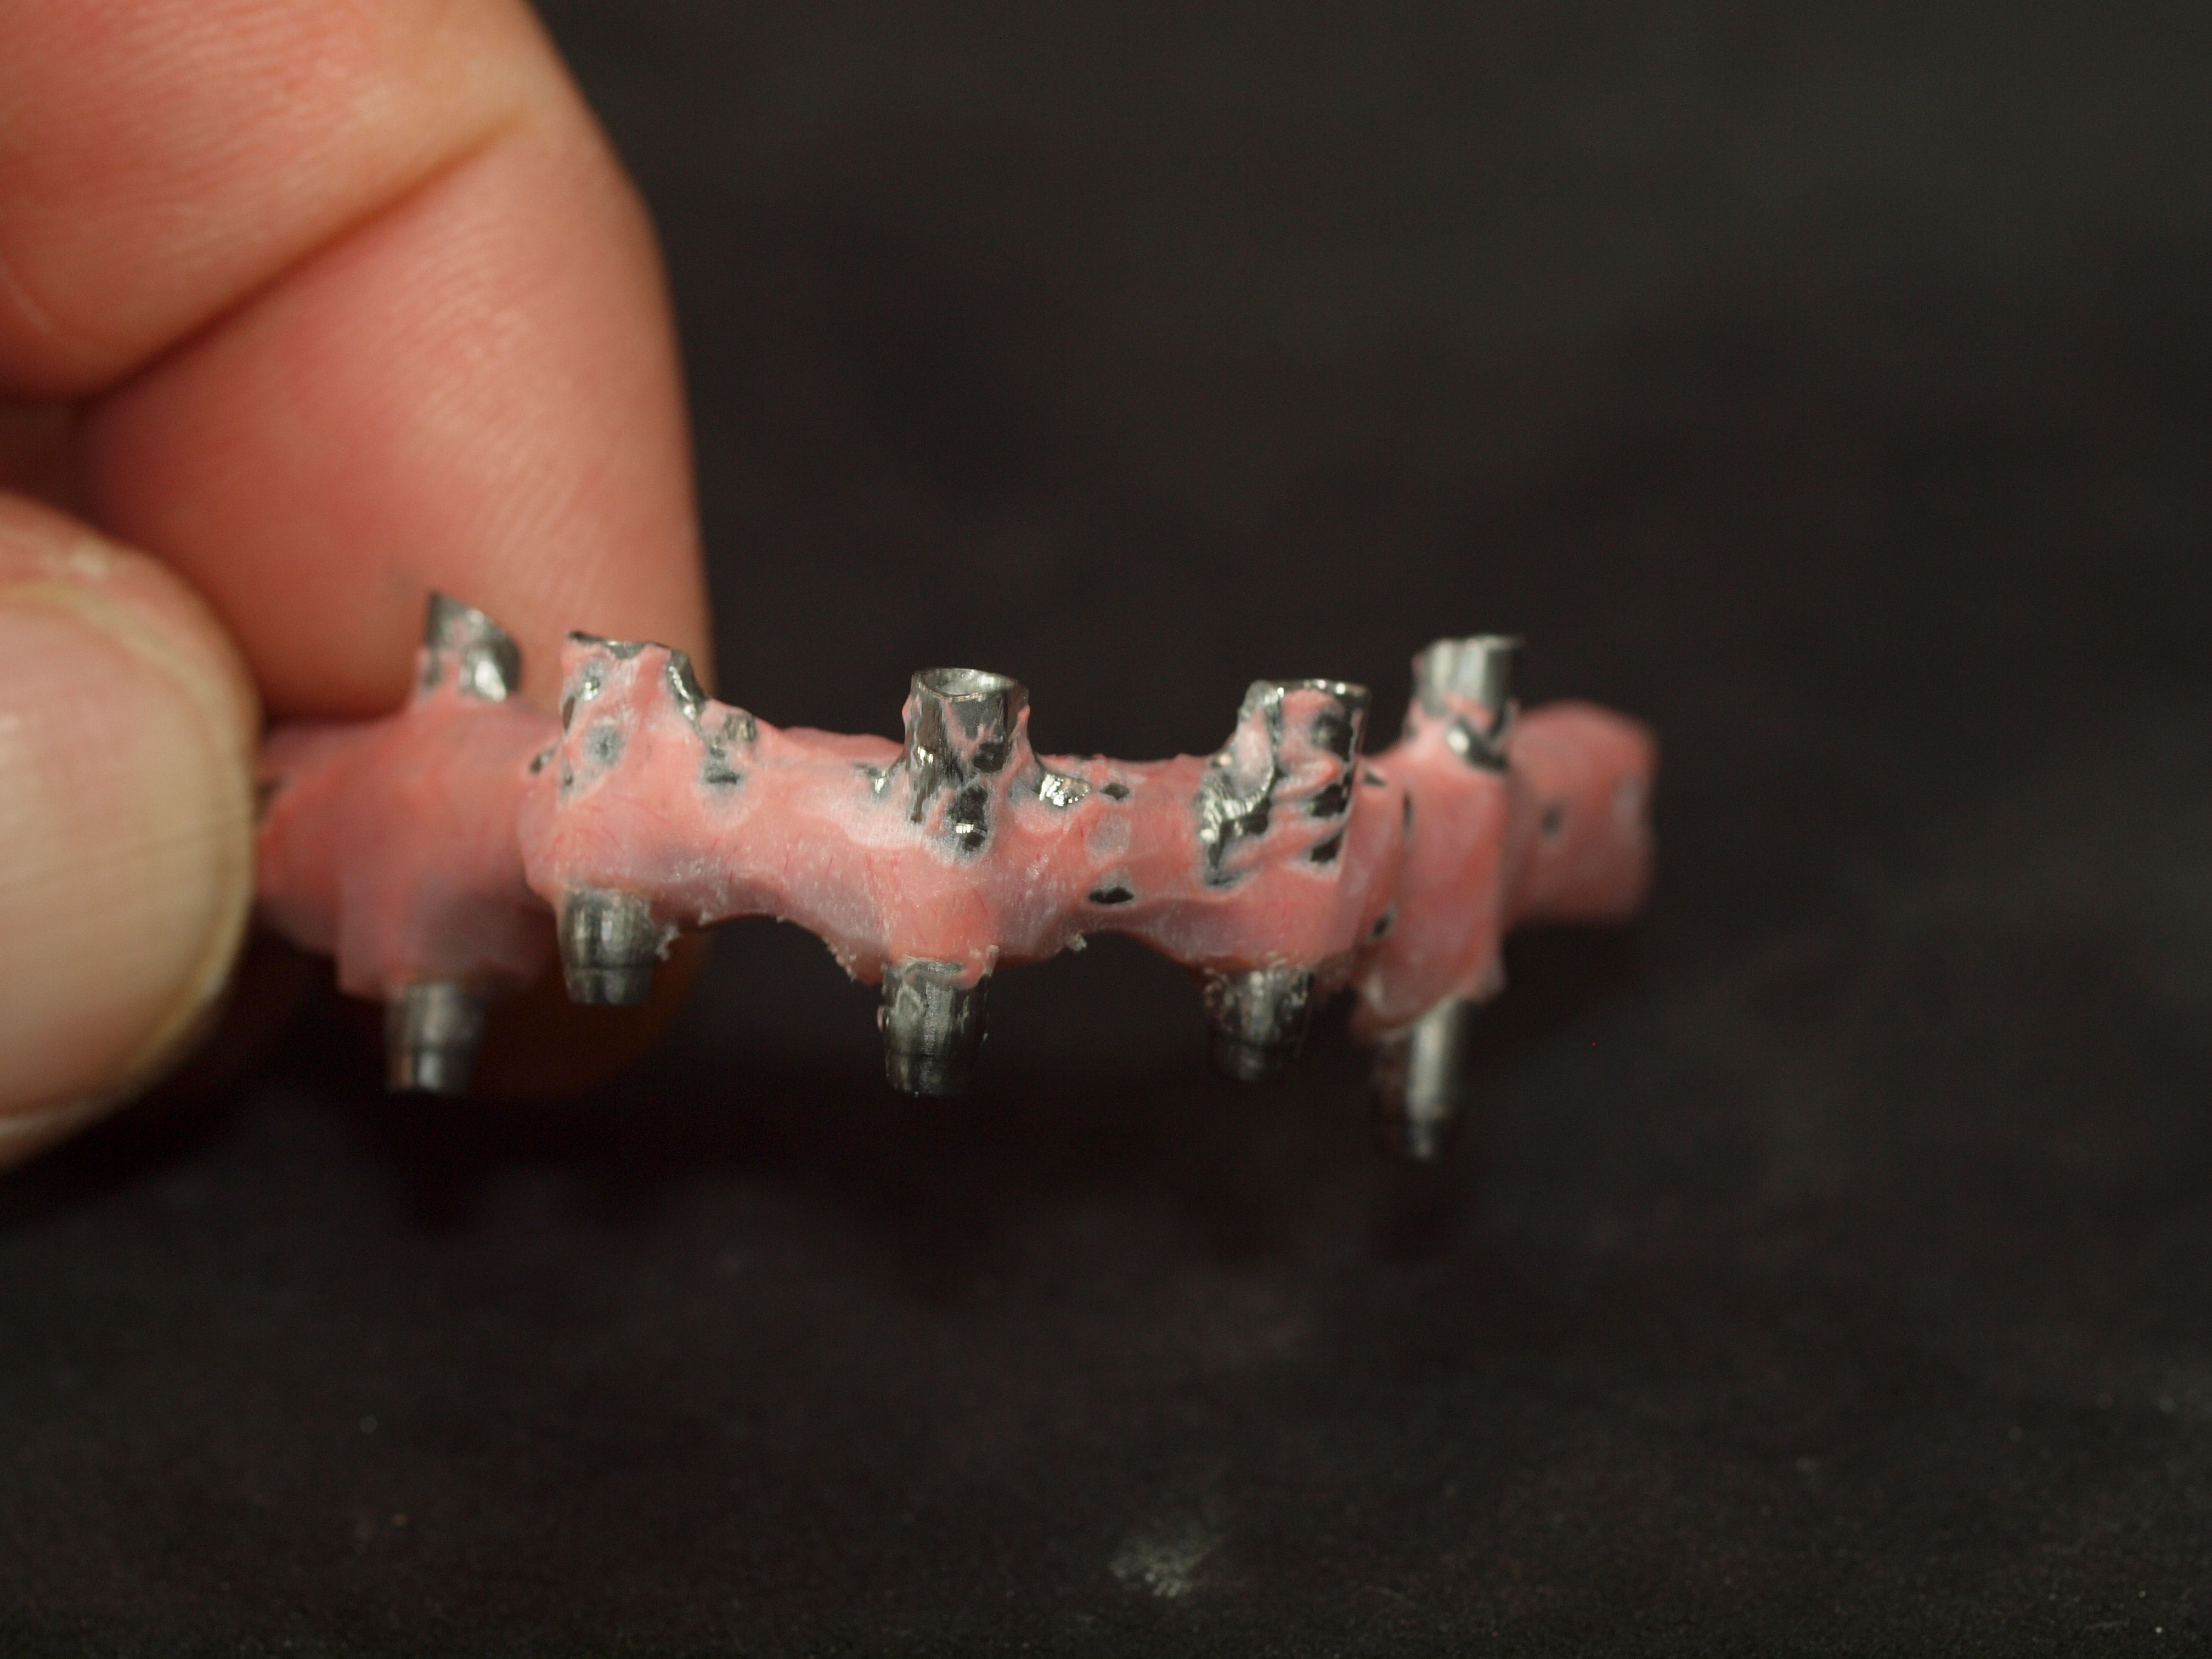
Bonding primers specifically formulated to bond acrylic or composite to alloy, ceramic, or hybrid resin surfaces tend to be marginalized, but they should be a standard protocol in hybrid fabrication. Their advanced chemistry provides a sound anchor when applying layered top coats and prolongs or potentially eliminates the possibility of subsequent delamination due to the micro flexures that occur during prosthetic function. Completely eliminating eventual fatigue to failure is not possible because of the individual flexural properties of the combination of material used in the overall fabrication. The aim, then, is to extend the functional life of the prosthetic beyond, if possible, the patient’s life expectancy (Figure 2).
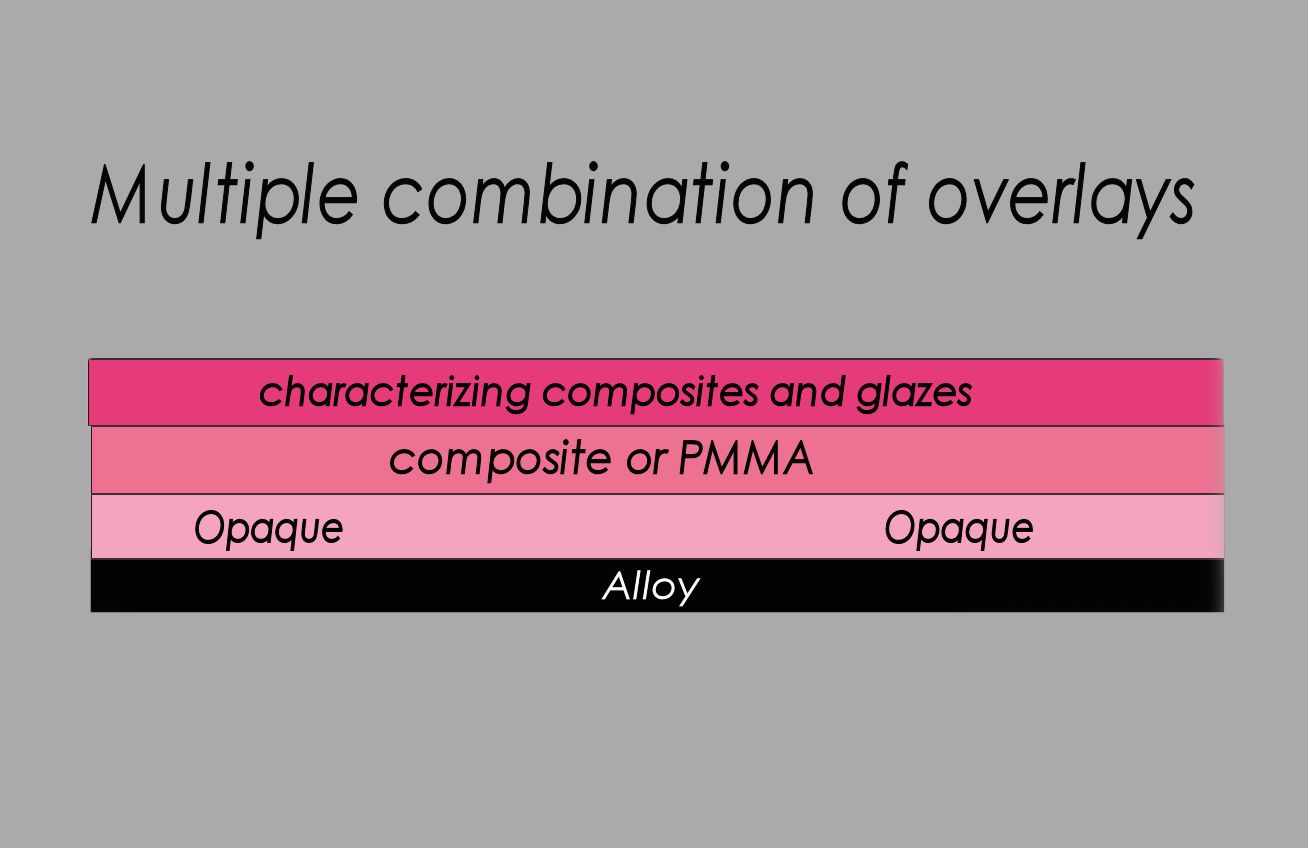
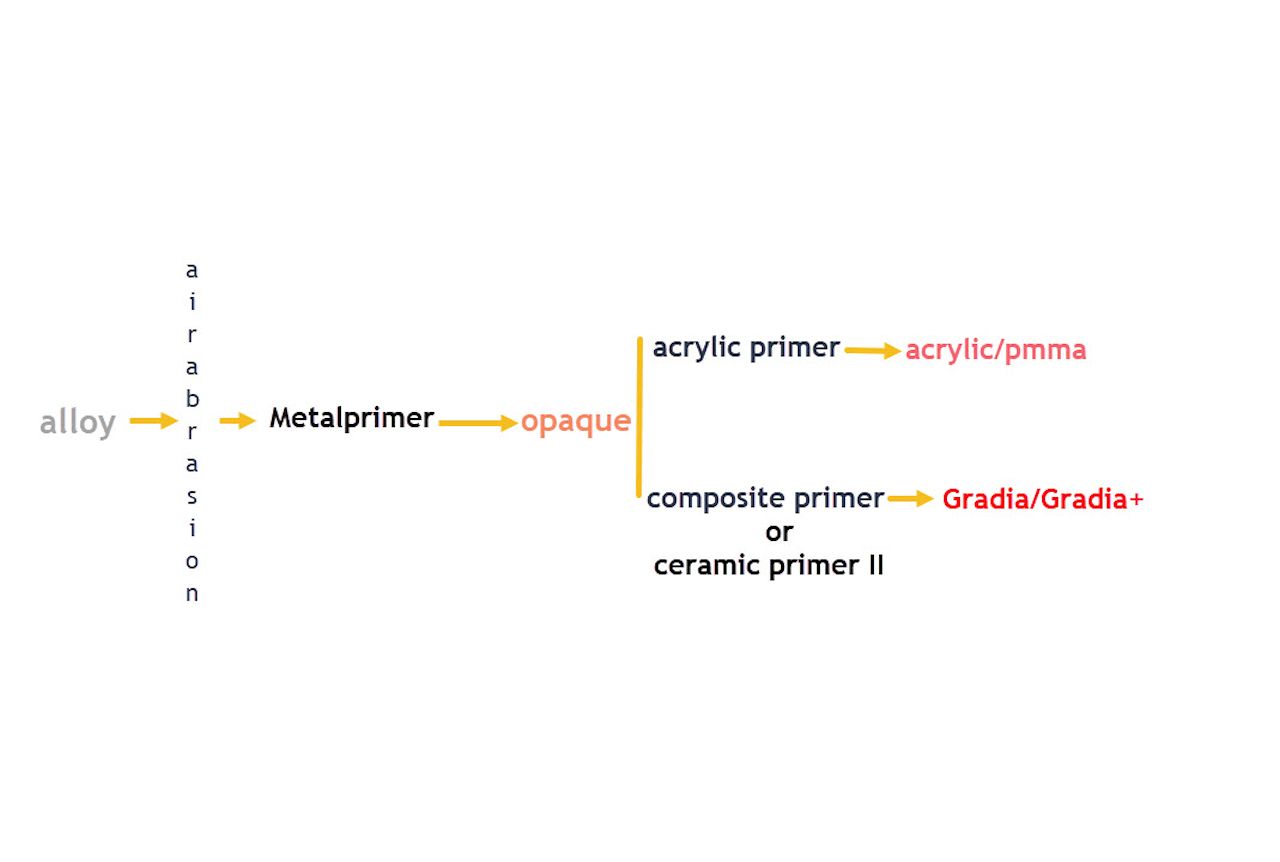
In a typical titanium hybrid bar, combinations of overlays to consider are the following:
- Alloy to opaque
- Opaque to polymethyl methacrylate (PMMA), or composite
- PMMA to composite
- PMMA to glazing products
- Composite to glazing products (Figure 3)
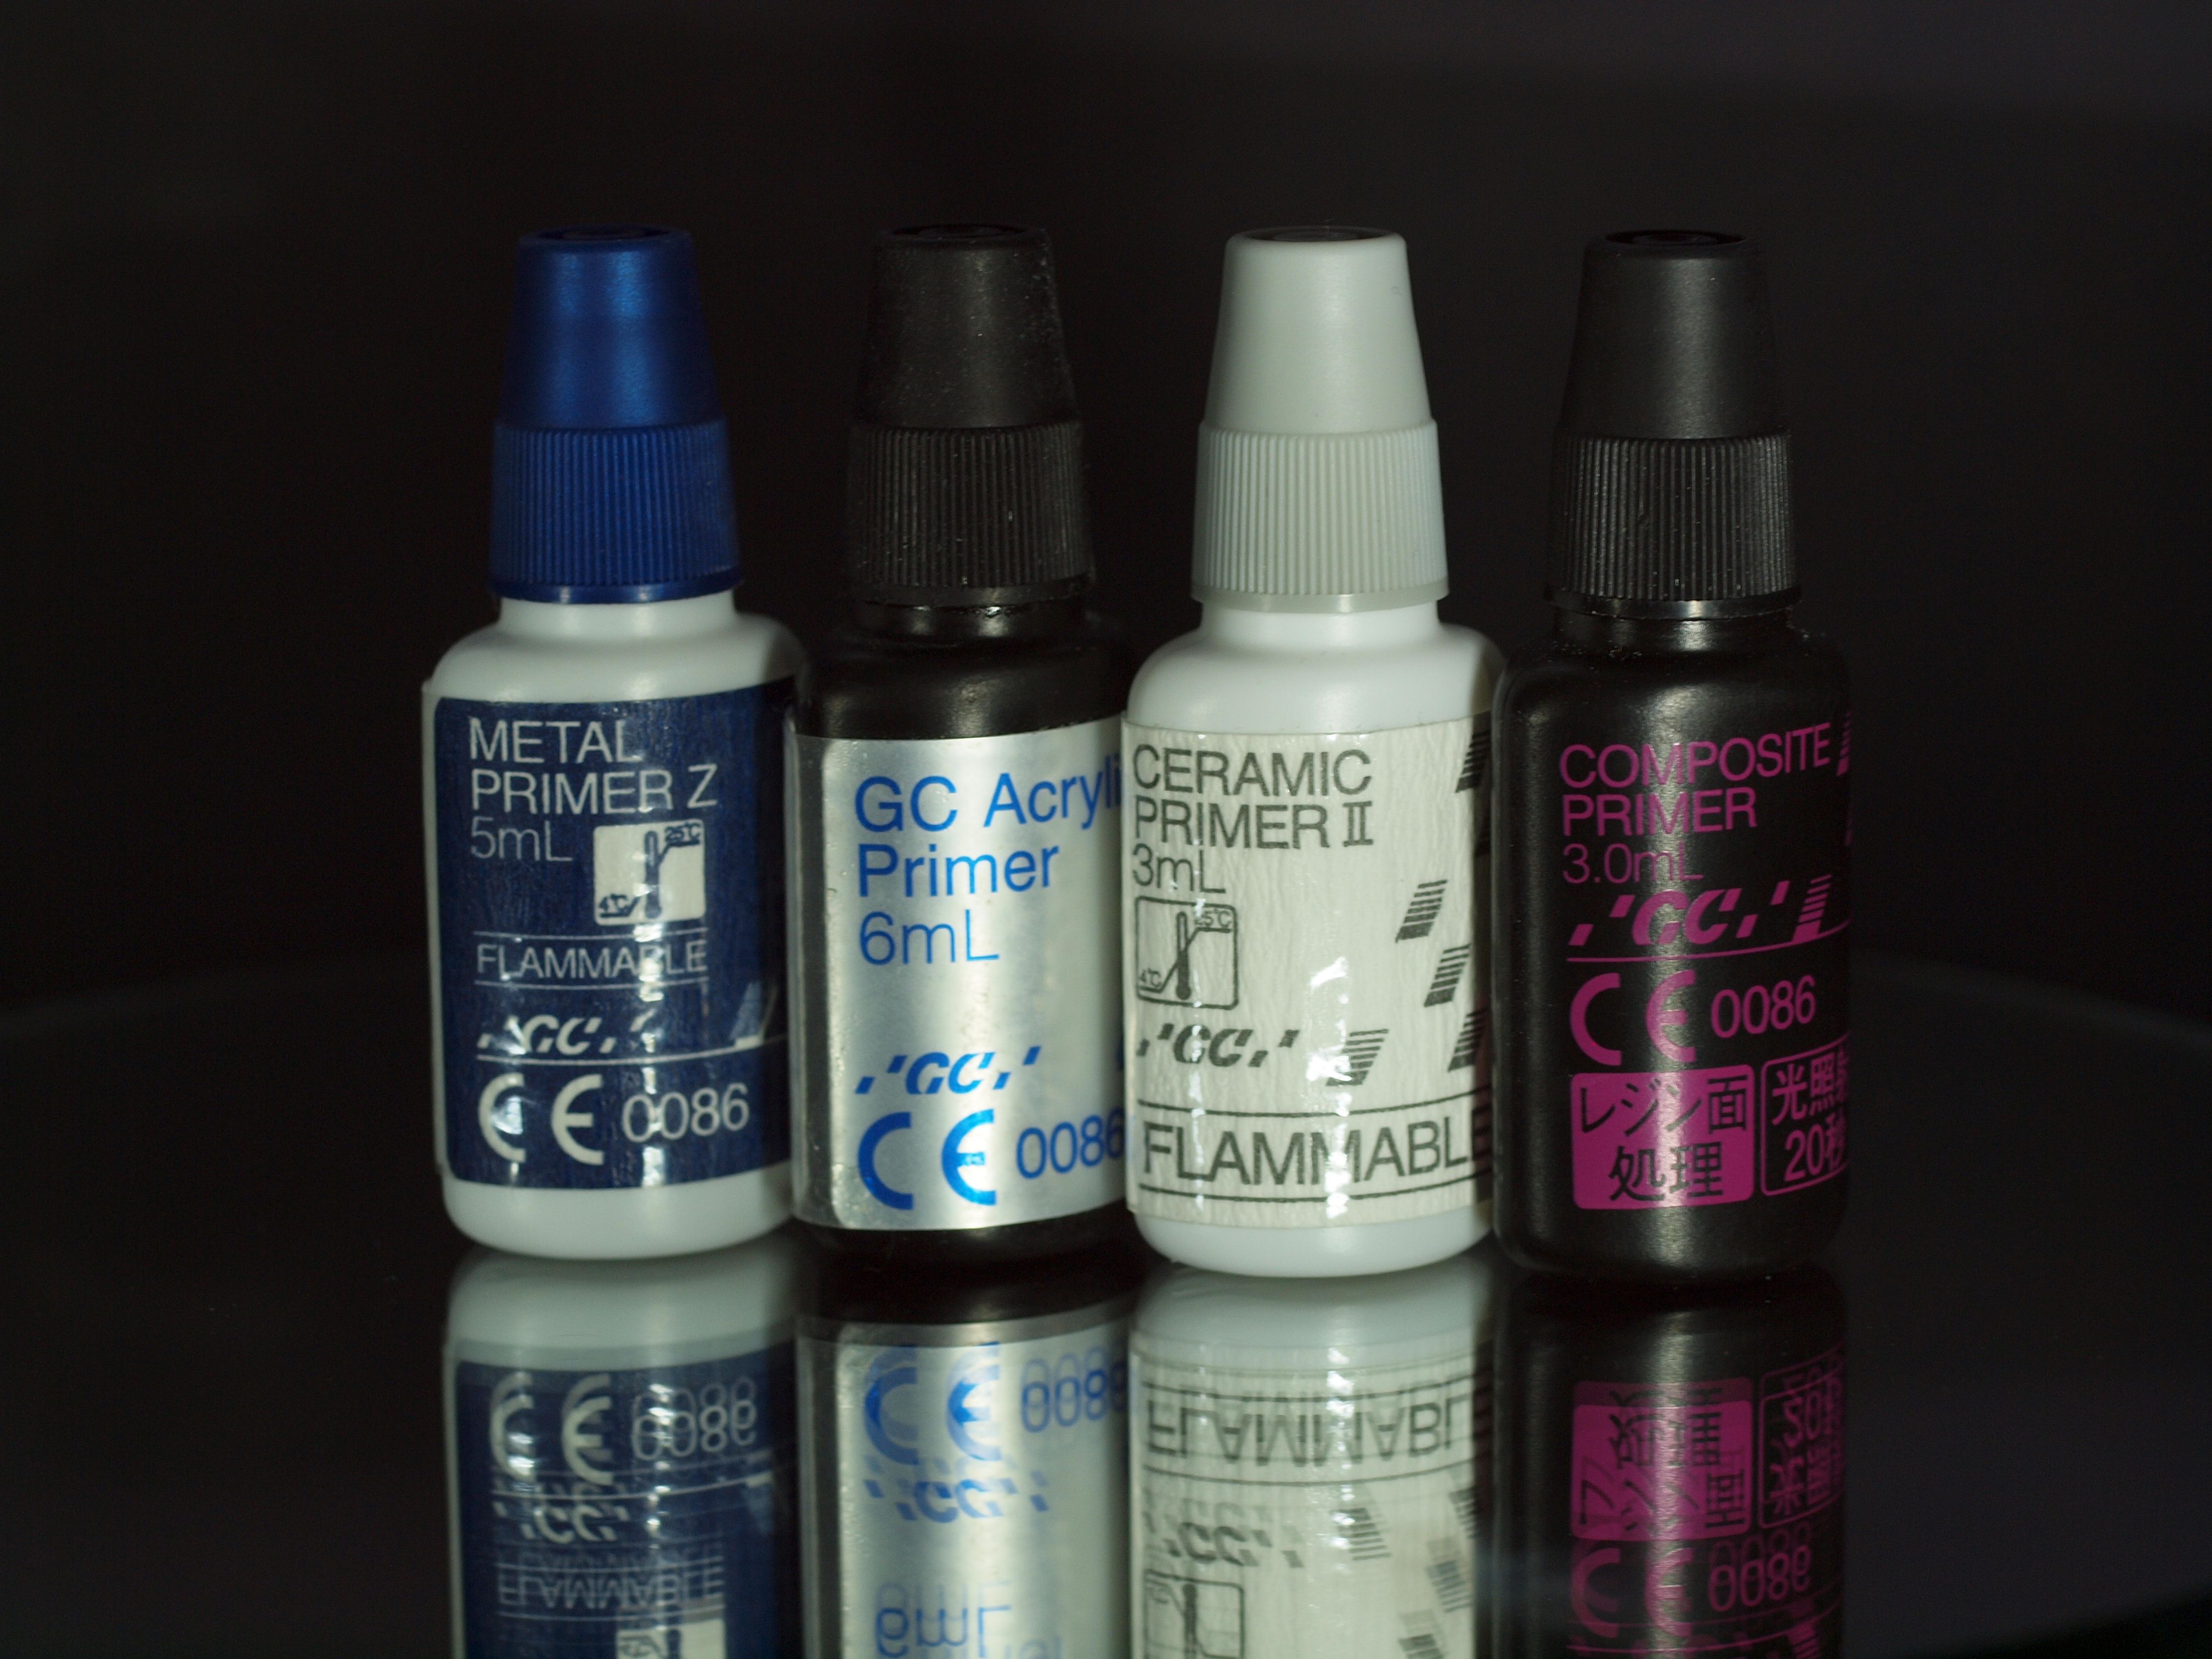
Products that this author uses are manufactured by GC Corporation. Other companies manufacture materials, but this article will explain the application techniques of GC products based on my success of use and familiarity (Figure 4).
Alloy to opaque
For years, prior to hybrid fabrication, Metalprimer II has been the mainstay in my lab in the application of enhancing the bond of acrylic to chrome cobalt partial denture frames. I also now use an upgraded version, Metal Primer Z, in present metal bonding applications.
The technique
- Use air abrasion of alloy surface with aluminum oxide to produce a satin surface. I use Cobra 50 micron, white, aluminous oxide from Renfert. After surface treatment, blow clean with air. Avoid using steam or air contaminated with oil or moisture, which can contaminate the micro textured surface, leading to possible delamination.
- Apply a wetted but not saturated coating of Metal Primer Z. Avoid getting primer and/or opaque into the screw access holes on bar. Once the Metal Primer Z has air-dried, immediately apply opaque.
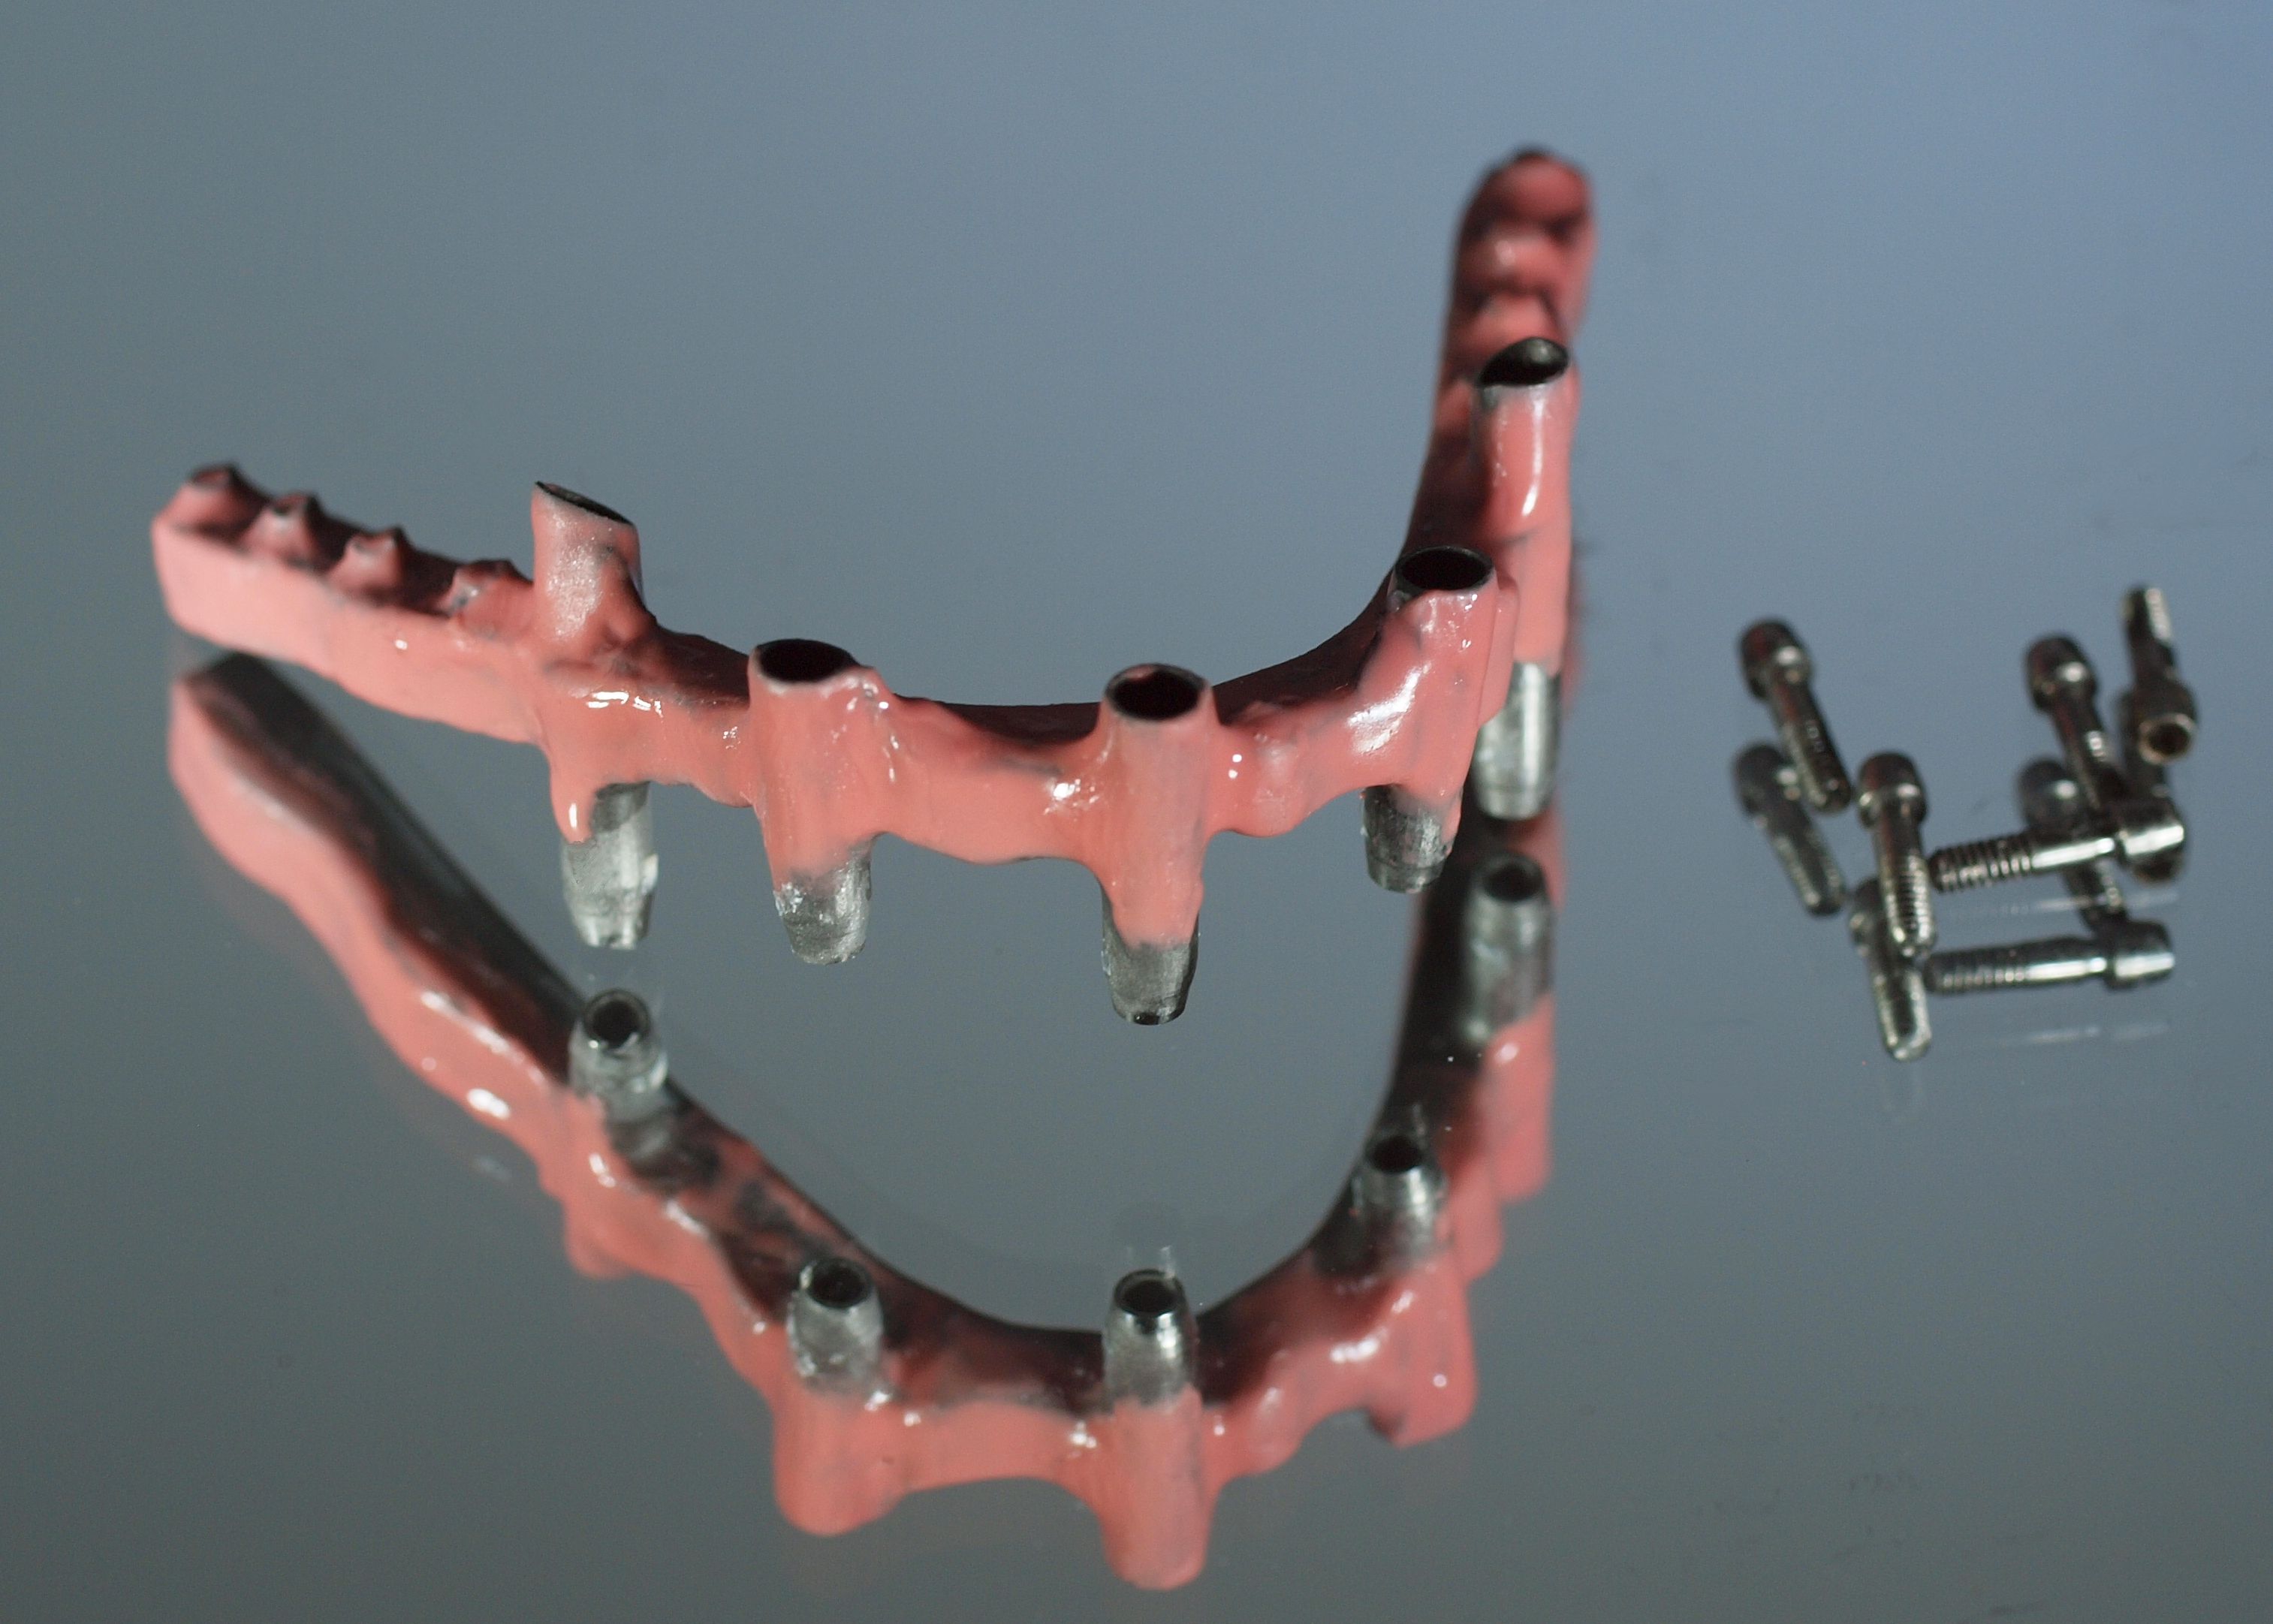
- Cure using Gradia+ opaque is light curable (VLC) source. Preferred light source is either a GC Steplight or a Labolight Duo step mode. Other light sources include any VLC light box/halogen projector bulb source. A 20- to 30-second cure cycle is used with the preferred light sources. If using a nonpreferred source, this author recommends a longer 2-minute cycle and closer proximity to the light source. Also remember that several thin coats of opaque allow for better light source penetration and coverage compared with thick ones (Figure 5).
Opaque to PMMA
In the past, I have used several types of “air-dry” opaque products. They work well to mask, but even when dry, they dissolve when they come in contact with monomer in uncured acrylic. This reveals itself many times after curing a case as a pink swirling effect in the acrylic. This is why I switched to the light cure form of opaque. It’s much more stable when contacting poured, packed, or pressed acrylic, and I feel it has a more sincere bond to the primer.
The technique
- Once the opaque has been sufficiently cured, apply a coating of GC Acrylic primer to the opaque surfaces that require acrylic.
- Suggested curing is either a 20-second exposure under the Steplight mode or 3 minutes under full mode of the Labolight Duo curing unit.
- Adapt acrylic (poured, packed, or injected) once exposed, do not touch the surface.
- GC Acrylic primer raises the adhesiveness to acrylic resin (Figure 6).
PMMA to Lustre Paste, Composite, Optiglaze
Prior to the manufacture of GC Acrylic primer, the protocol for bonding composite to a completed PMMA denture was to use GC Composite primer. Although composite primer is adequate for this application, this author recommends substituting the acrylic primer for the above-mentioned layering.
The technique
- Apply light air abrasion to the surface to be layered, followed by a coating of cured GC Acrylic primer
- Proceed with application of composite, Lustre Paste, or Optiglaze and appropriate curing procedures for those products (Figure 7).
Although initially adding fabrication time and costs to the hybrid treatment, these bonding primer applications, coupled with sound design, are necessary additions to the hybrid bar fabrication workflow (Figure 8).

 Download Issue: Dental Lab Products October 2020

